![]()
Adding a web link to an item
Adding a web link to an item.
To add a URL link to an individual item, perform the following steps.
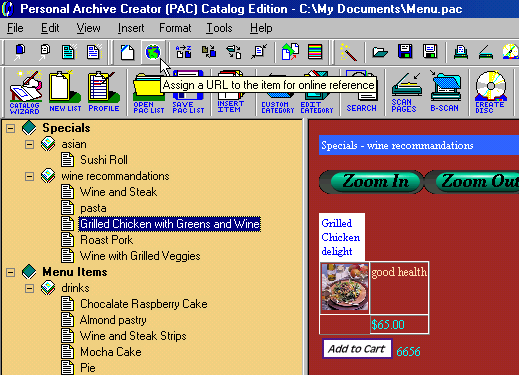
1) Select the item from the list.
2) Click the Web Icon from the menu bar to activate the Web Link Assignment Dialog (See Picture below).
3) In the Web Link Assignment dialog type the URL of the link. Note: You do not need to type "http://" the software will add that for you.

4) Within the dialog, you can also confirm that the URL is correct by clicking on the "Test URL" button. This will open the URL's web page within the viewing area of the Personal Archive Creator. If the URL is correct, click the "OK" button to add the link as a reference for this item.
5) Once the link is added to the item, the URL will appear as part of the item when the user, select the item and press the right mouse button to activate the context menu. The URL will appear as the last menu item (see Picture below)
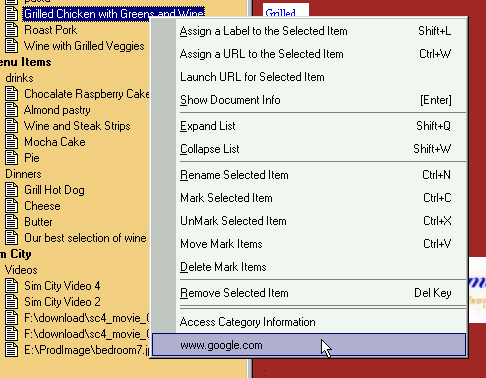
6) When the user clicks on the name of the URL (see picture above), the Personal Archive Creator will open the web page of the URL in the viewing area if the user's computer is connected to the internet. If the user is not connected to the internet, they will be informed that the page could not be reach using the standard IE internet connection message.
7) On the catalog CD the URL will appear as the third menu element, only if the item has a URL assigned (See Picture below). Once the URL is clicked, the process is the same as in step 6.

Get the latest on-line Help at http://www.chronsystems.com/pachelp